Figure 8 Cast On
Since my Top Down Bonnet uses the elusive figure 8 cast on, I’ve been getting a lot of mail asking about it. It is kind of confusing; I didn’t understand it myself for a long time. It’s like magic, though, and once you get it, you’ll be a very happy little knitter. I’ve taken what I hope are very clear photos and will explain how I do this seamless cast on below.
Important! When a pattern calls for 40 sts. to be cast on, you’ll have 20 sts. on each needle.
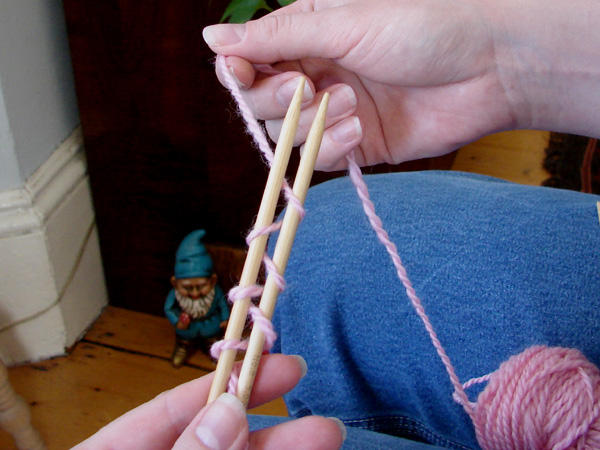
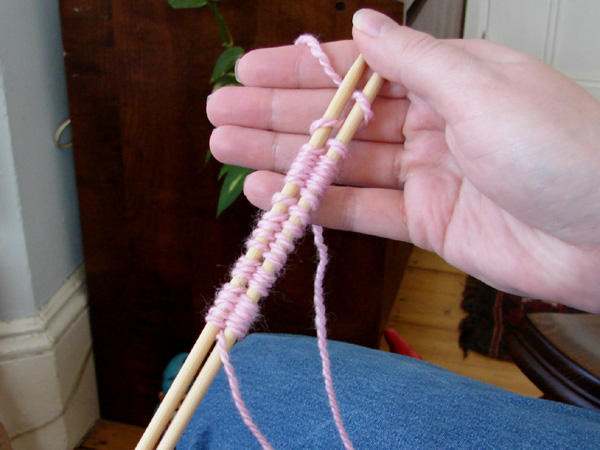
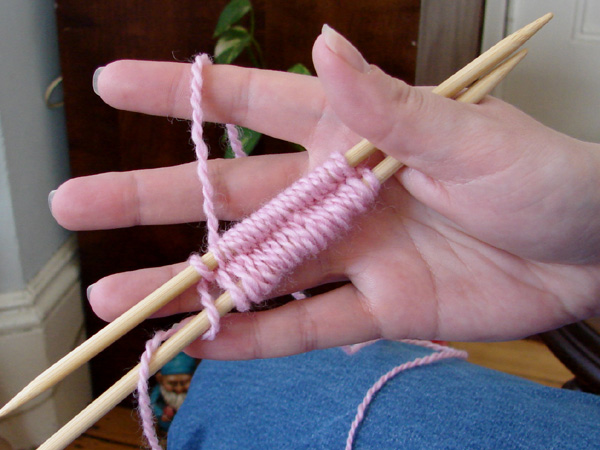
Here we go. First, get your dpns and some yarn. You’ll need 3 double pointed needles or a long circular for magic loop to start. I’m showing this on dpns. Hold 2 needles next to each other in your non-dominant hand and catch the tail of yarn with your left thumb on the front of the bottom needle, as shown below. In one motion, bring the yarn front to back between the needles, *up and over from behind the top needle, down the front of the top needle and between the needles again, from front to back, around the bottom needle, back to front, up, then then between the needles, front to back*. Now you’ve got 2 sts. on the needles. Repeat between *s to cast on more sts. The photo below shows 6 sts. on the needles.
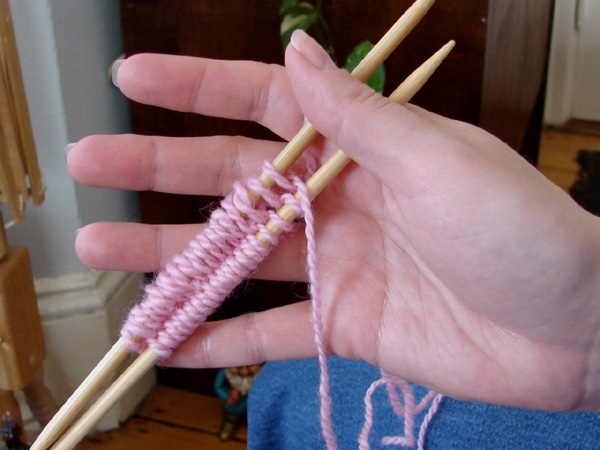
In the photo below, I’ve got all the stitches I want on the needles. Notice that the last cast on stitch leaves the ball end of the yarn going between the needles from front to back, with the last loop over the bottom needle.
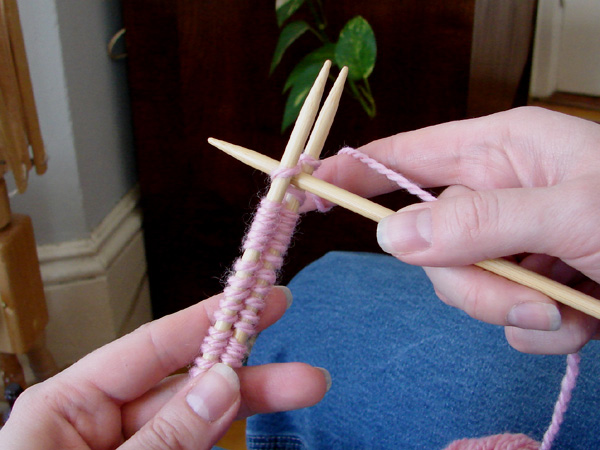
Grab the ball end of yarn and start to knit. You’ll see that the cast on stitches on the top needle present themselves properly for knitting: the right hand side is in front of the needle. Knit this row through the front of the loop as usual.
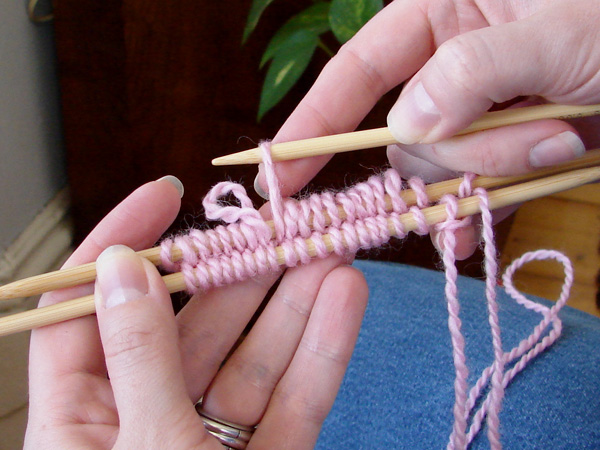
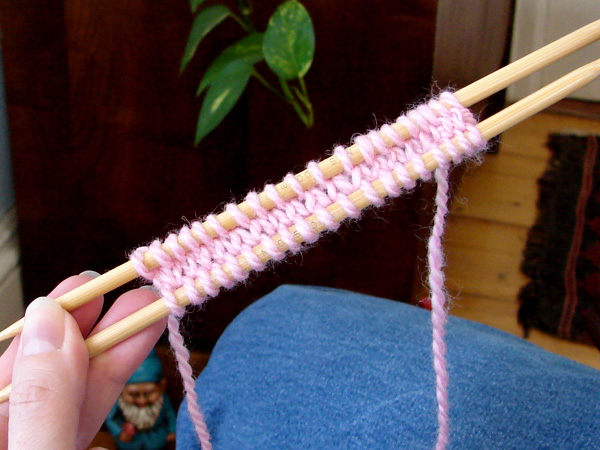
When done with the first row, you’ll see that things have loosened up considerably on the bottom row.
Flip your knitting around 180 degrees so that the ball end of yarn is on the right hand side and those loose stitches are facing up for knitting. Leave that yarn tail hanging in front of the bottom needle as shown.
I like to tighten up those loose stitches now, so that that center row of stitches perfectly matches the surrounding rows in tension. Start from the left and give each stitch a good yank with your needle tip, just like if you were tightening your shoelaces from the bottom up. Work your way across to the tail end, which is the last strand you pull.
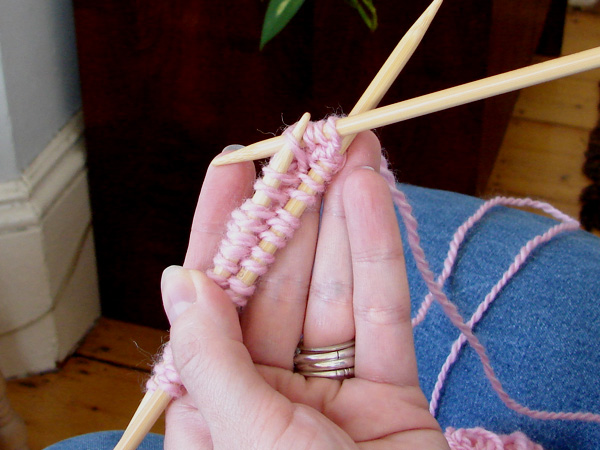
Now you can knit across this row, but since the stitches in this row will present themselves with the right hand side of the stitch behind the needle, you’ll need to knit these through the back of the loop to straighten them out. This is the only row you’ll need to worry about this on.
Tada! You can now split these stitches between 3 or 4 needles as you usually would when knitting in the round. You can allow that yarn tail that was hanging out in the front to fall behind the needles now.
